Table of Contents
ToggleTransforming a ladder bookshelf can be as thrilling as finding a hidden treasure in your attic. With just a splash of creativity and a dash of elbow grease, that old piece can become the showstopper of any room. Imagine turning a once-dusty relic into a chic display of your favorite novels, quirky knick-knacks, or even your secret cookie stash.
Overview Of Ladder Bookshelf Makeover
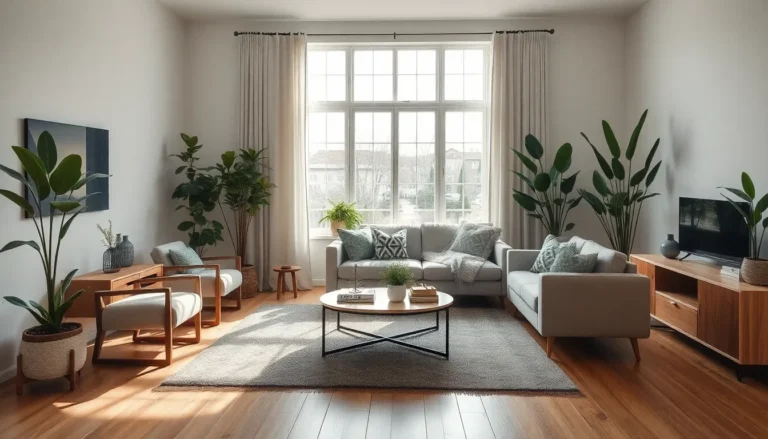
Transforming a ladder bookshelf offers an opportunity to blend function with aesthetic appeal. Various techniques exist to upgrade an outdated design. Painting the shelves in bold or neutral colors enhances visual interest and aligns with existing decor.
Adding wallpaper to the back of the bookshelf creates a striking backdrop for displayed items. Decorative contact paper serves as an alternative for those seeking a more straightforward option.
Rearranging existing shelves can also refresh the display. Position larger books or heavier items on lower shelves for stability. Placing decorative pieces and lightweight books on upper shelves draws the eye upward, creating height within the space.
Incorporating lighting brings an inviting ambiance. String lights or small LED fixtures can illuminate the bookshelf, creating a cozy atmosphere. This addition works well in living spaces or reading nooks.
Accessorizing plays a crucial role in the makeover. Curated items like plants, picture frames, or unique collectibles can personalize the space. Using a consistent theme or color palette ties the display together, making it visually pleasing.
Finally, adding storage options, such as baskets or bins, tucks away clutter while maintaining style. This approach maximizes functionality without sacrificing design. A ladder bookshelf makeover can transform a dull piece into a vibrant and organized focal point, elevating the entire room’s aesthetic appeal.
Materials Needed For The Makeover
Transforming a ladder bookshelf requires a few essential materials. The right choices enhance both style and functionality.
Choosing The Right Paint
Selecting paint plays a crucial role in the makeover. Opt for a color that complements the room’s existing palette. Acrylic or chalk paint proves ideal for wood surfaces. Consider finishing with a sealant for added durability. Various finishes, such as matte or glossy, can further distinctively set the tone. Gather brushes or rollers depending on the preferred technique. Remember to use painter’s tape for clean lines, ensuring a professional-looking result.
Selecting Accessories And Decor
Accessories and decor breathe life into the revamped bookshelf. First, choose decorative items that resonate with personal style. Picture frames filled with cherished memories add warmth. Incorporating plants introduces a touch of nature, while books can showcase interests or hobbies. Use decorative bins or baskets to keep things organized. Choosing wallpaper or contact paper for shelf backing enhances visual interest. Finally, string lights or LED fixtures create a cozy ambiance. Each piece selected contributes to a cohesive and inviting display.
Step-By-Step Makeover Process
Transforming a ladder bookshelf involves several crucial steps that ensure an impressive final result. Each phase contributes significantly to the overall aesthetic and functionality of the shelf.
Preparing The Bookshelf
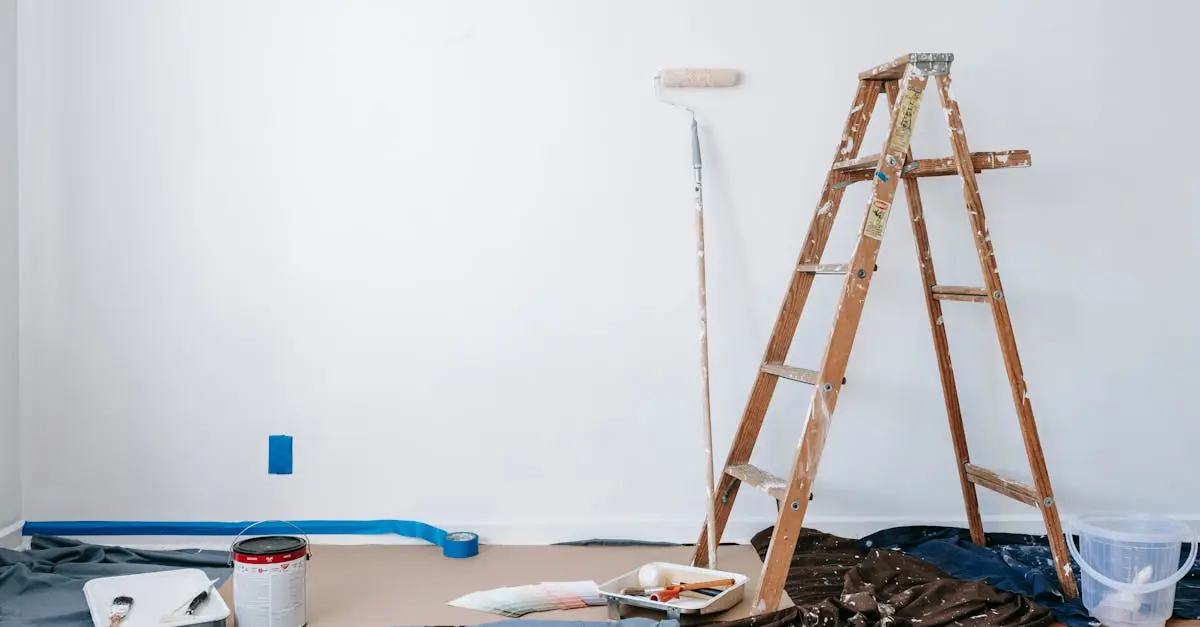
Preparation starts with clearing off all items from the shelf. Next, inspect for damage, focusing on areas needing repair or sanding. Cleaning the surface removes dust and grime to help paint adhere properly. It’s essential to use a gentle cleaner to avoid damage. After cleaning, apply painter’s tape around edges and areas not intended for paint. This step ensures crisp lines during the painting process. Lastly, place the bookshelf in a well-ventilated area for a smooth makeover experience.
Painting Techniques
Choosing the right paint enhances the overall look. Opt for acrylic or chalk paint to achieve a finish that complements the room’s palette. Begin by applying a primer for better coverage, especially on raw or previously painted wood. Use a paintbrush for corners and a roller for larger areas to expedite the process. Thin coats work best; multiple light applications prevent drips. Allow ample drying time between coats to achieve an even, professional finish. Consider using a clear sealant for added durability and a polished appearance.
Adding Decorative Elements
Decorative features significantly enliven the bookshelf. Start by selecting wallpaper or contact paper for the back panel, creating a focal point. Install this before placing items on the shelves for a seamless look. Incorporate curated decor, including plants, picture frames, or decorative bins for an organized yet personal touch. Strategically placed string lights or small LED fixtures can add ambiance, making the shelf inviting. Each accessory should reflect personal style and align with the room’s overall theme, enhancing aesthetic appeal and functionality.
Styling Tips For Your Updated Bookshelf
Start by choosing a color scheme. Incorporating bold or neutral tones enhances visual interest and complements existing decor. Select paint that works well on wood surfaces like acrylic or chalk paint.
Consider using wallpaper or decorative contact paper for the back of the bookshelf. This addition creates a striking backdrop that draws the eye, adding depth to the display. Choose patterns that resonate with personal style for an authentic touch.
Rearranging the shelves can significantly improve the aesthetic. Mixing photos, plants, and books creates a dynamic look. Use visually similar items together to establish unity.
Incorporate lighting options to elevate ambiance. String lights or small LED fixtures provide warmth, transforming the bookshelf into a cozy focal point in the room. Place them strategically to enhance certain pieces or areas.
Accessorizing with curated items adds personality. Baskets or bins can offer stylish organization while displaying decorative objects like picture frames and knick-knacks. These elements maintain order without compromising the visual appeal.
Experiment with shelf heights and spacing. Allow for larger books or decor items without feeling cramped. Create height variation by placing taller items at the back and shorter objects in front.
Select meaningful items for display. Personal touches, such as travel souvenirs or family photos, tell a story and invite conversation. Displaying cherished pieces makes the bookshelf a true reflection of individual style.
Maintain a balanced look. Ensure no side appears overly cluttered or minimalistic by distributing items evenly across the shelves. Creating a visual flow makes the bookshelf more inviting and harmonious.
Transforming a ladder bookshelf can breathe new life into any space. With a little creativity and effort, it’s possible to create a stylish display that showcases personal style while enhancing functionality. The right paint color and design elements can completely change the look and feel of the bookshelf.
Incorporating unique accessories and thoughtful lighting adds warmth and character. This makeover not only elevates the room’s aesthetic but also provides practical storage solutions. Embracing this DIY project can lead to a stunning focal point that reflects individuality and charm, making it a rewarding endeavor for any home.